

New Feature Fridays: LightBurn & Carbide Create Exports
Well… it’s Monday.
This was supposed to go out on Friday, but I wasn’t quite finished. A little more polishing over the weekend and I’m finally ready to share something I’m genuinely excited about: brand-new export options for those of you who work in Carbide Create or LightBurn.
LightBurn Export
Surprisingly, LightBurn turned out to be the easier of the two. There’s basically zero official documentation on the file format, but it’s just XML. Open a few LightBurn files, stare at them long enough, and the structure starts to make sense. A bit of noodling later and we had cut paths, tool layers, grouping, and positioning all working.
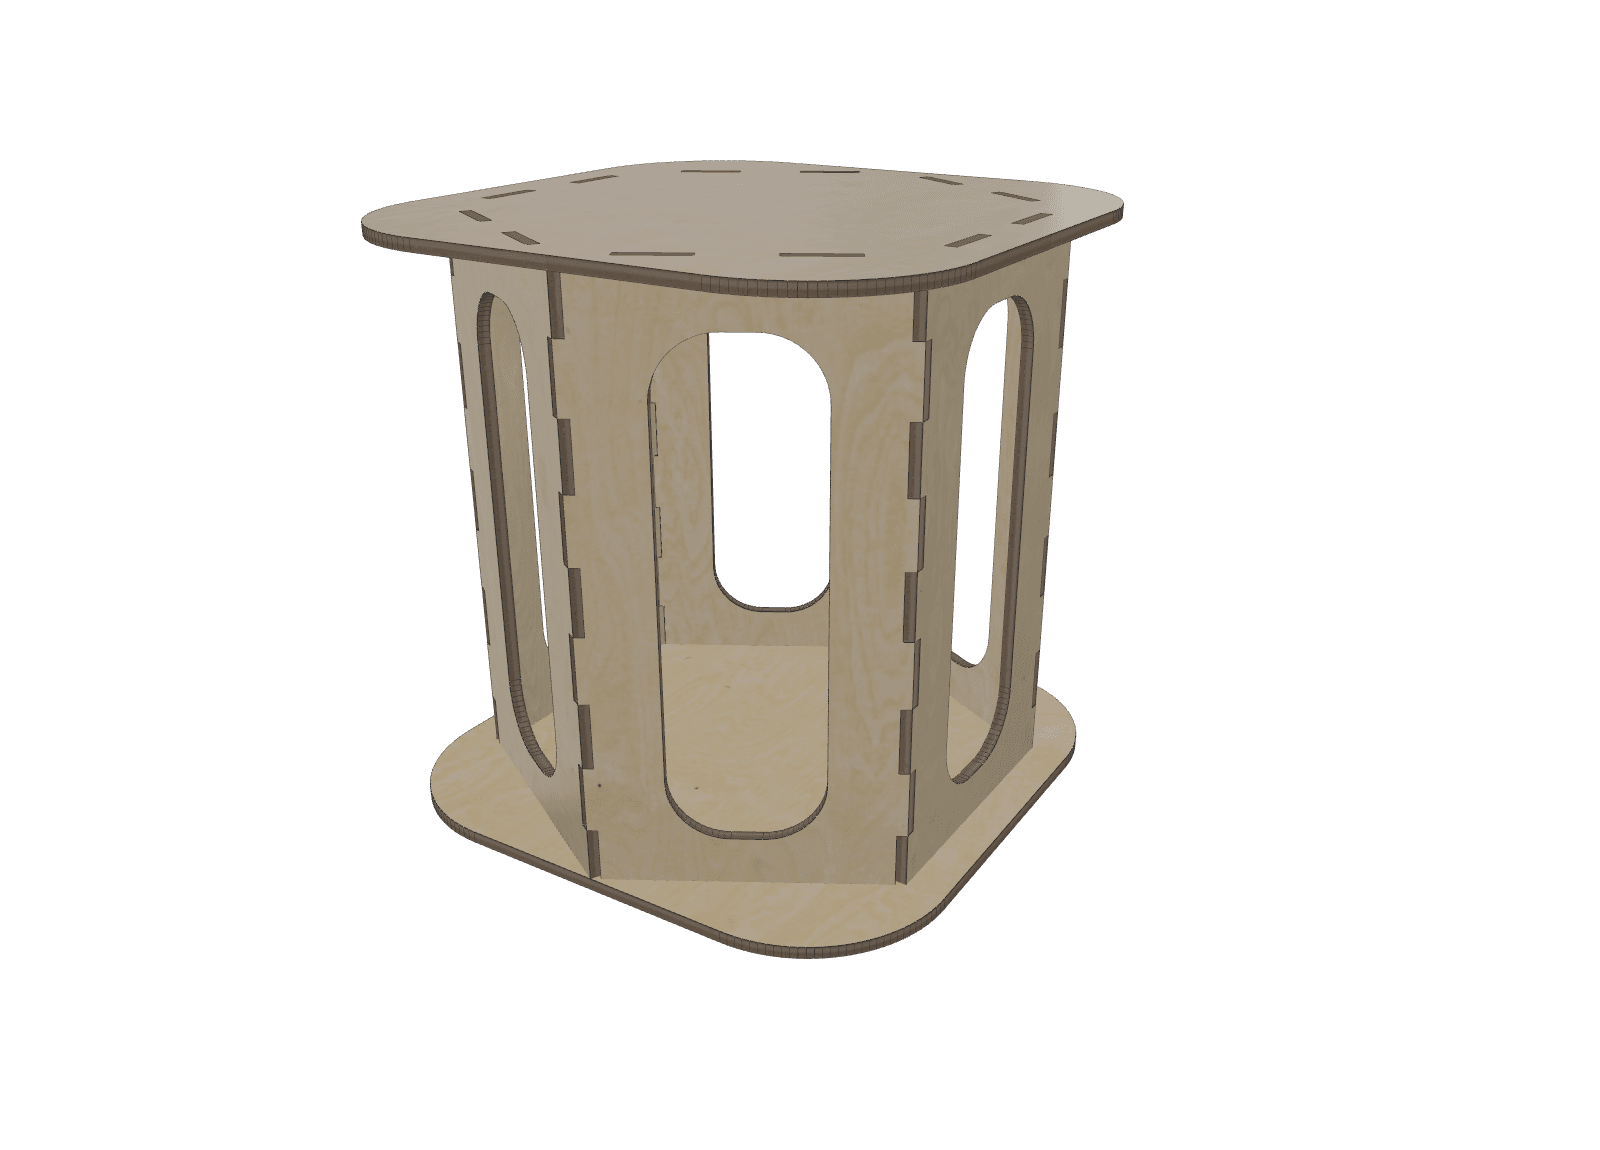
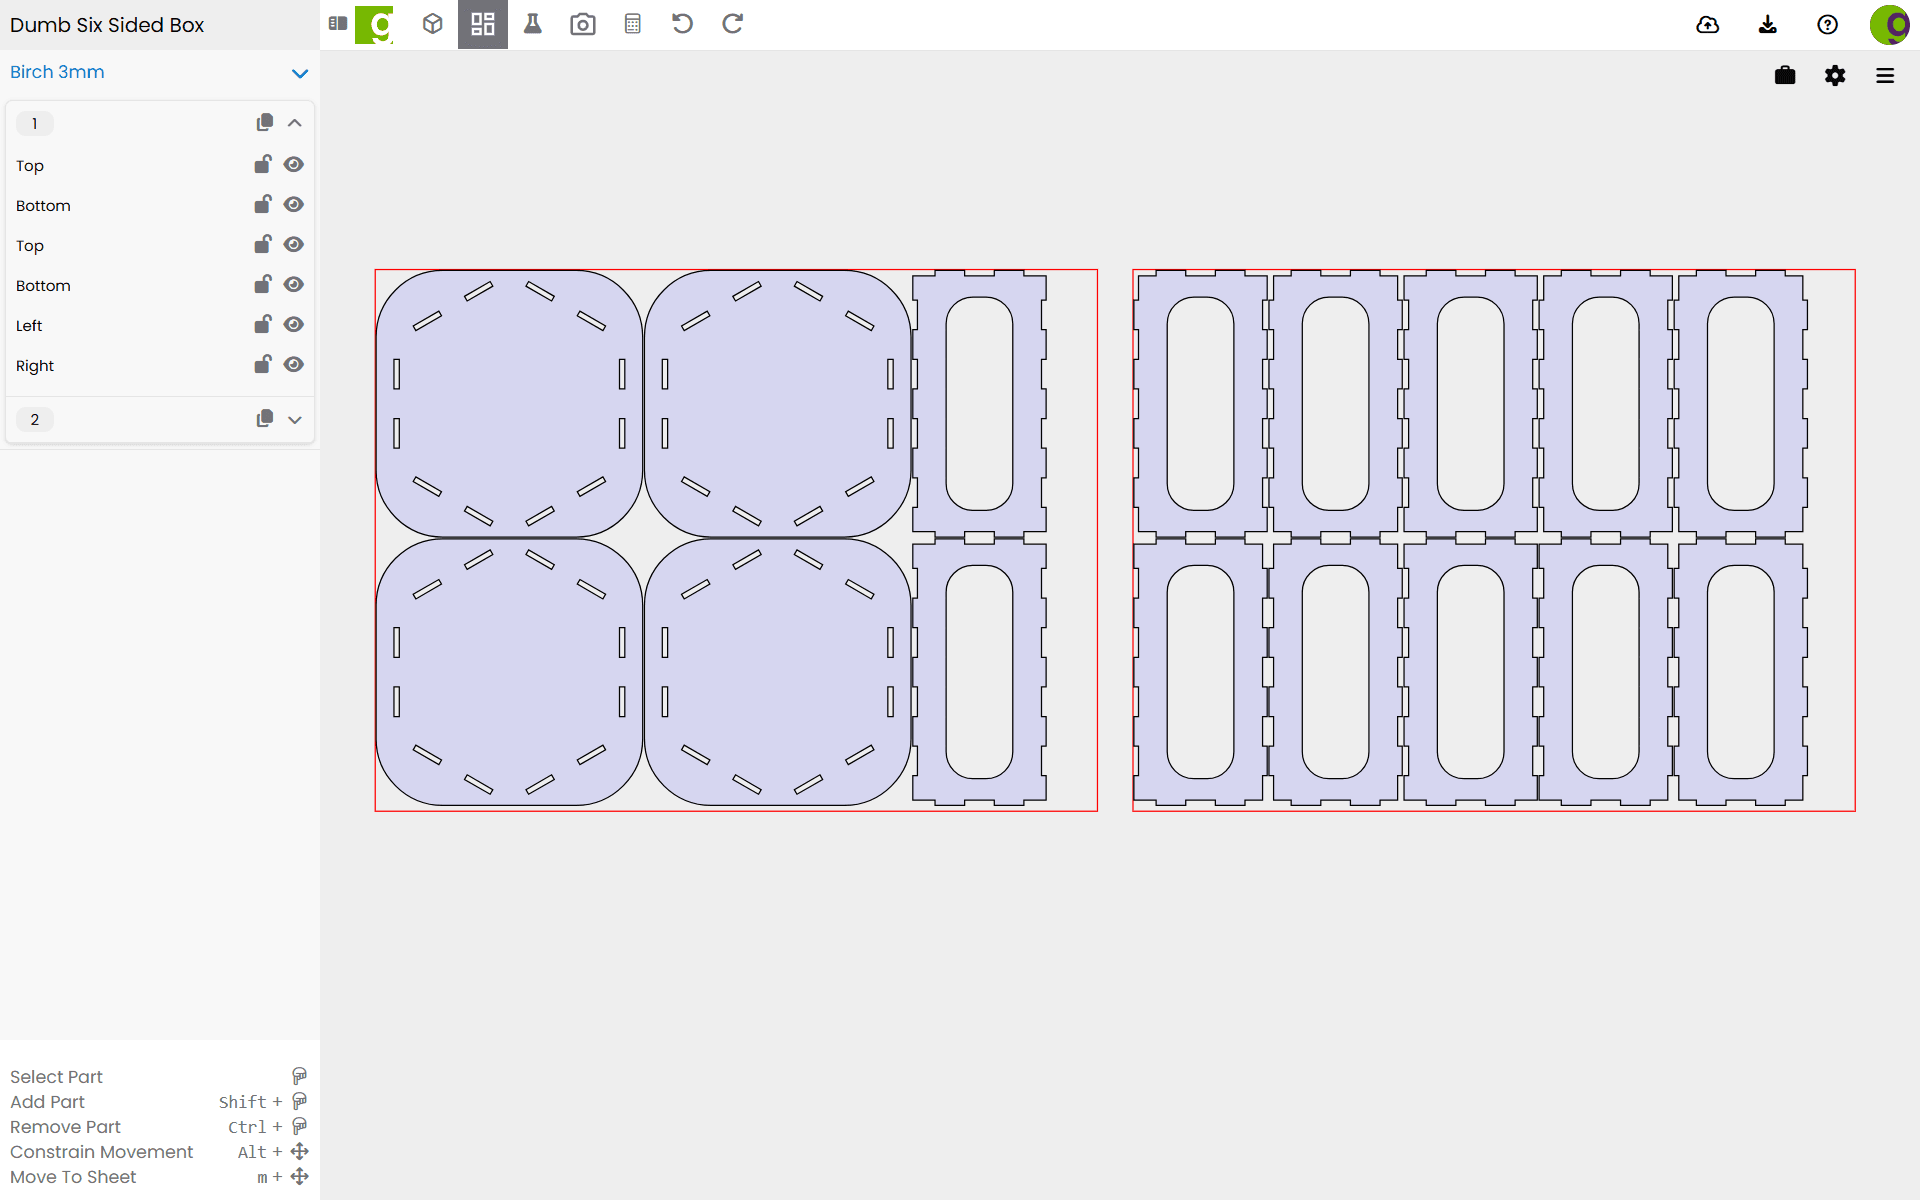
The real win shows up when you have more than one sheet. Every sheet’s parts are properly grouped, which is going to save a ton of clicking and dragging.
You can go from this:
…to a clean multi-sheet layout like this:
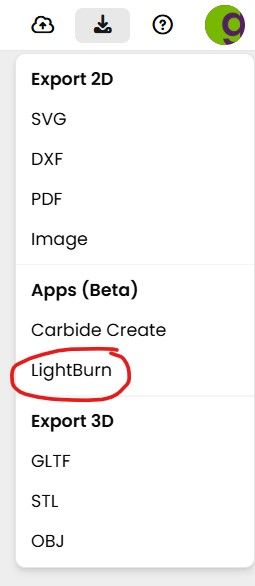
Then hit the export menu, choose LightBurn, pick a folder, and open the file(s) directly in LightBurn:
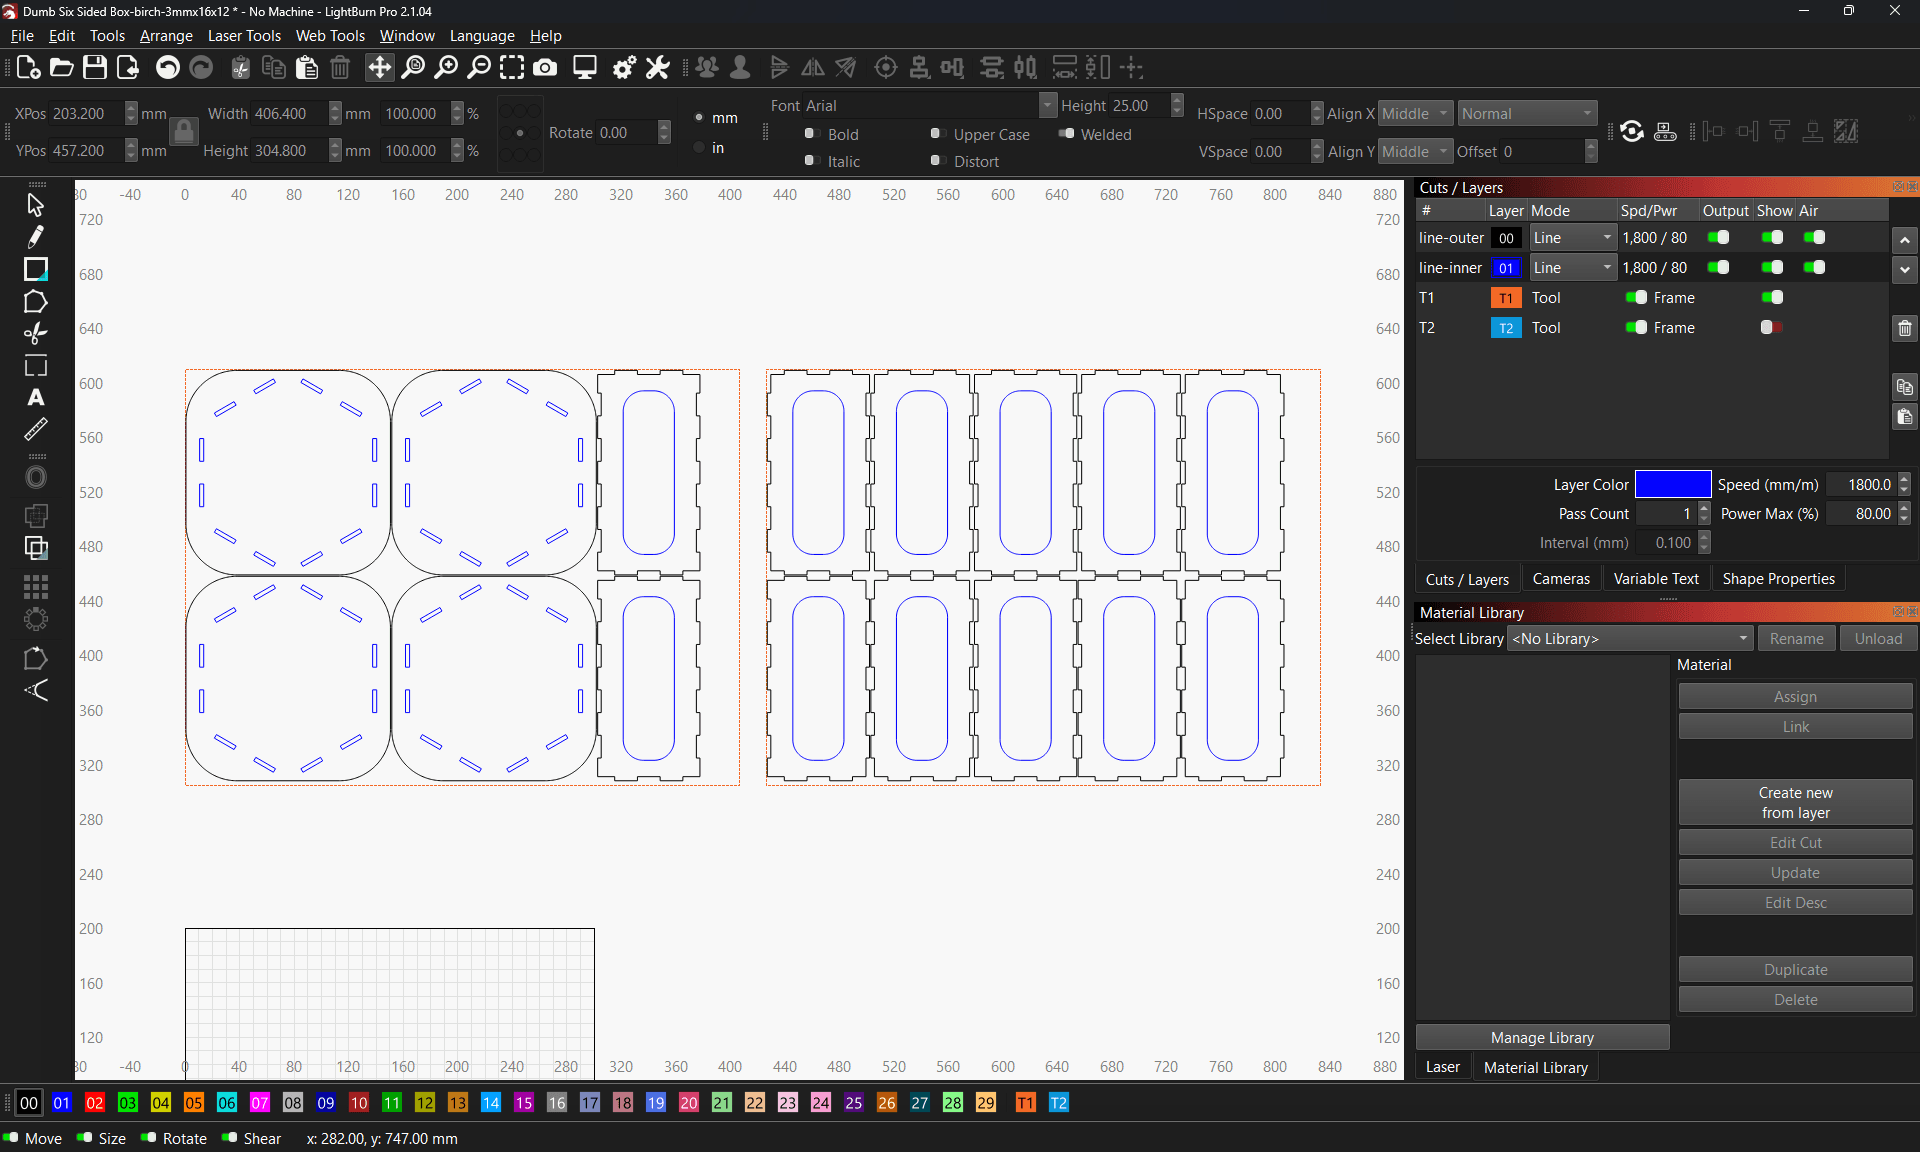
GCrafter already applies the correct kerf offset for outside cuts and inside cuts. For fills/pockets, each layer is automatically named with the pocket depth so you can see exactly what’s going on. Dial in your power and speed, hit play, and you’re off.
Carbide Create Export
CNC folks, you’re not left out. You can now export straight to a Carbide Create file:
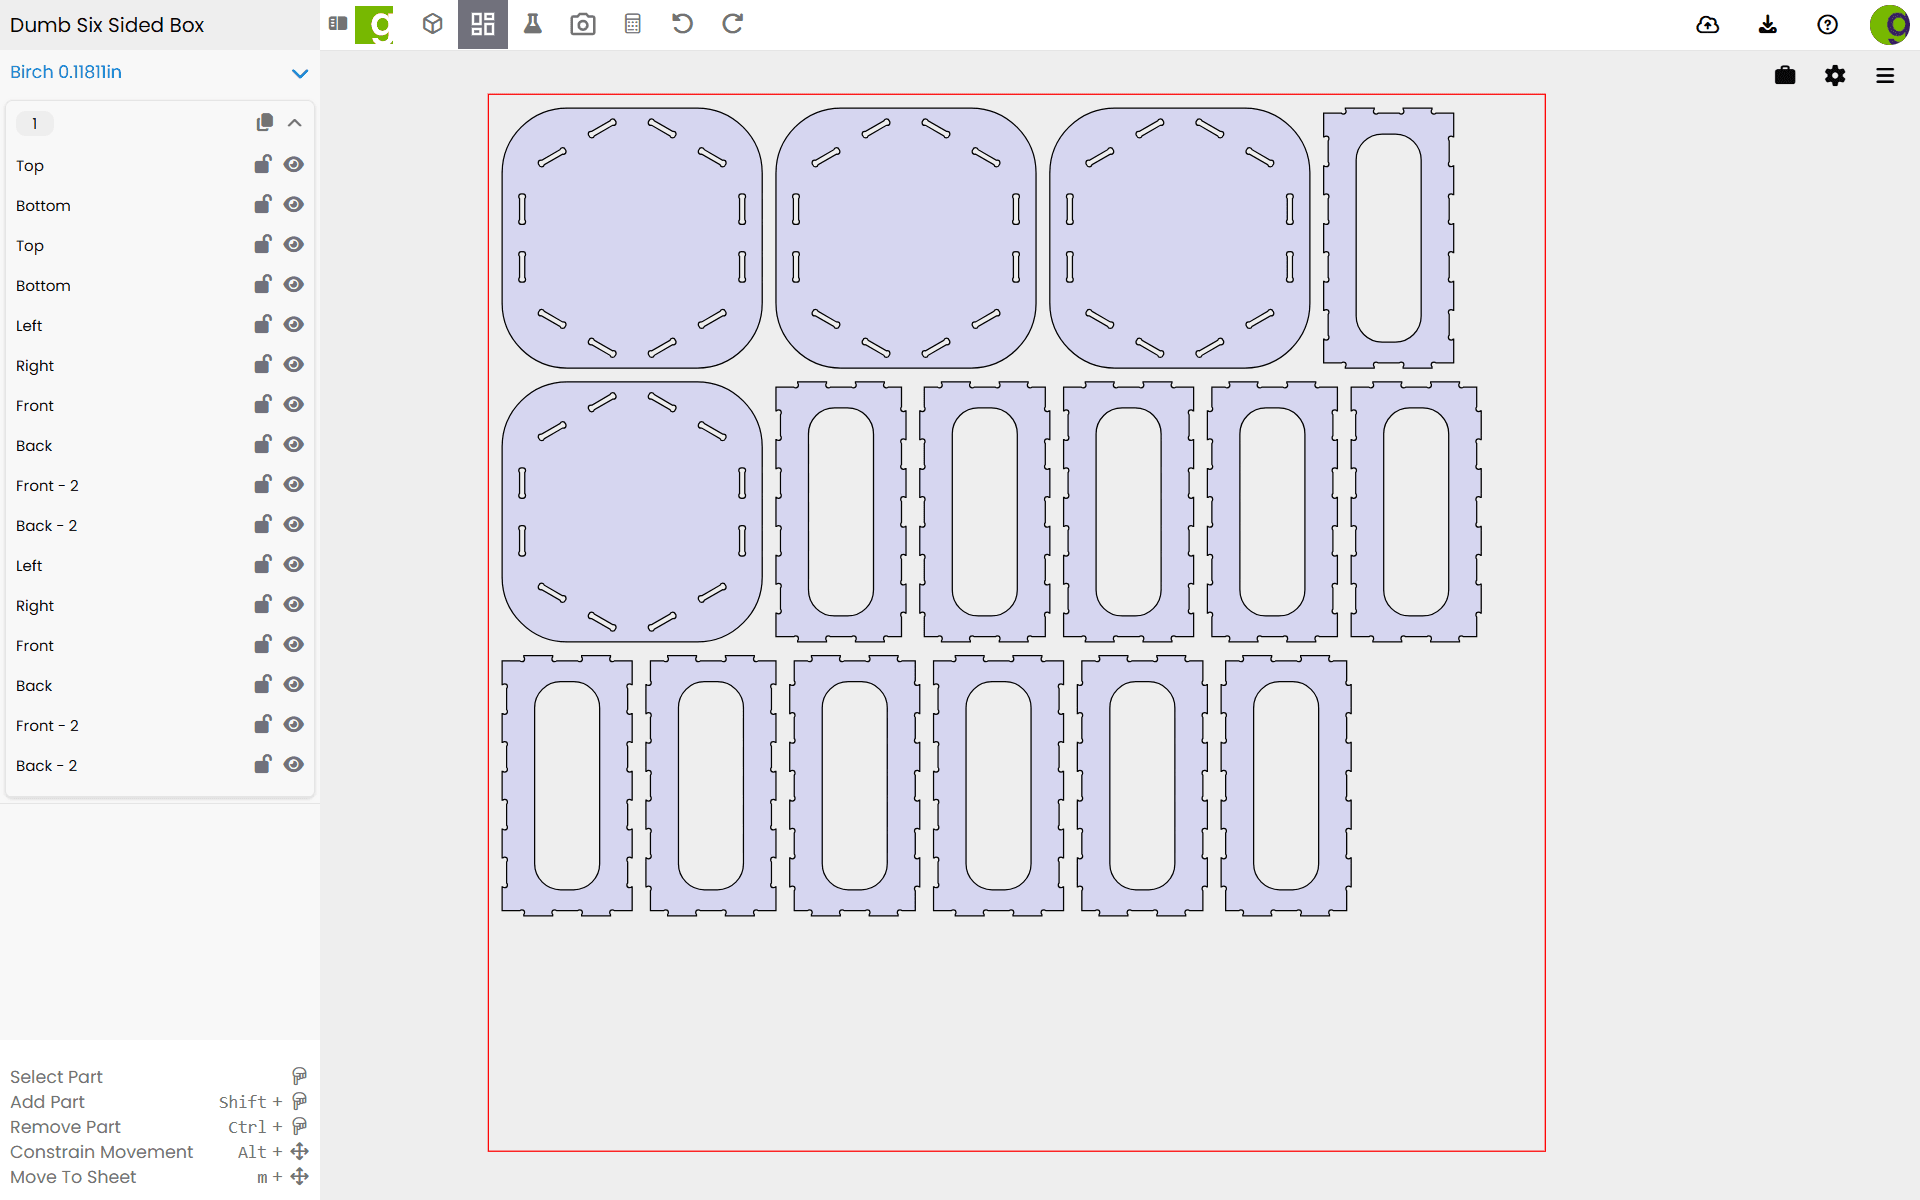
Same workflow — export menu → Carbide Create → choose your folder → open in CC:
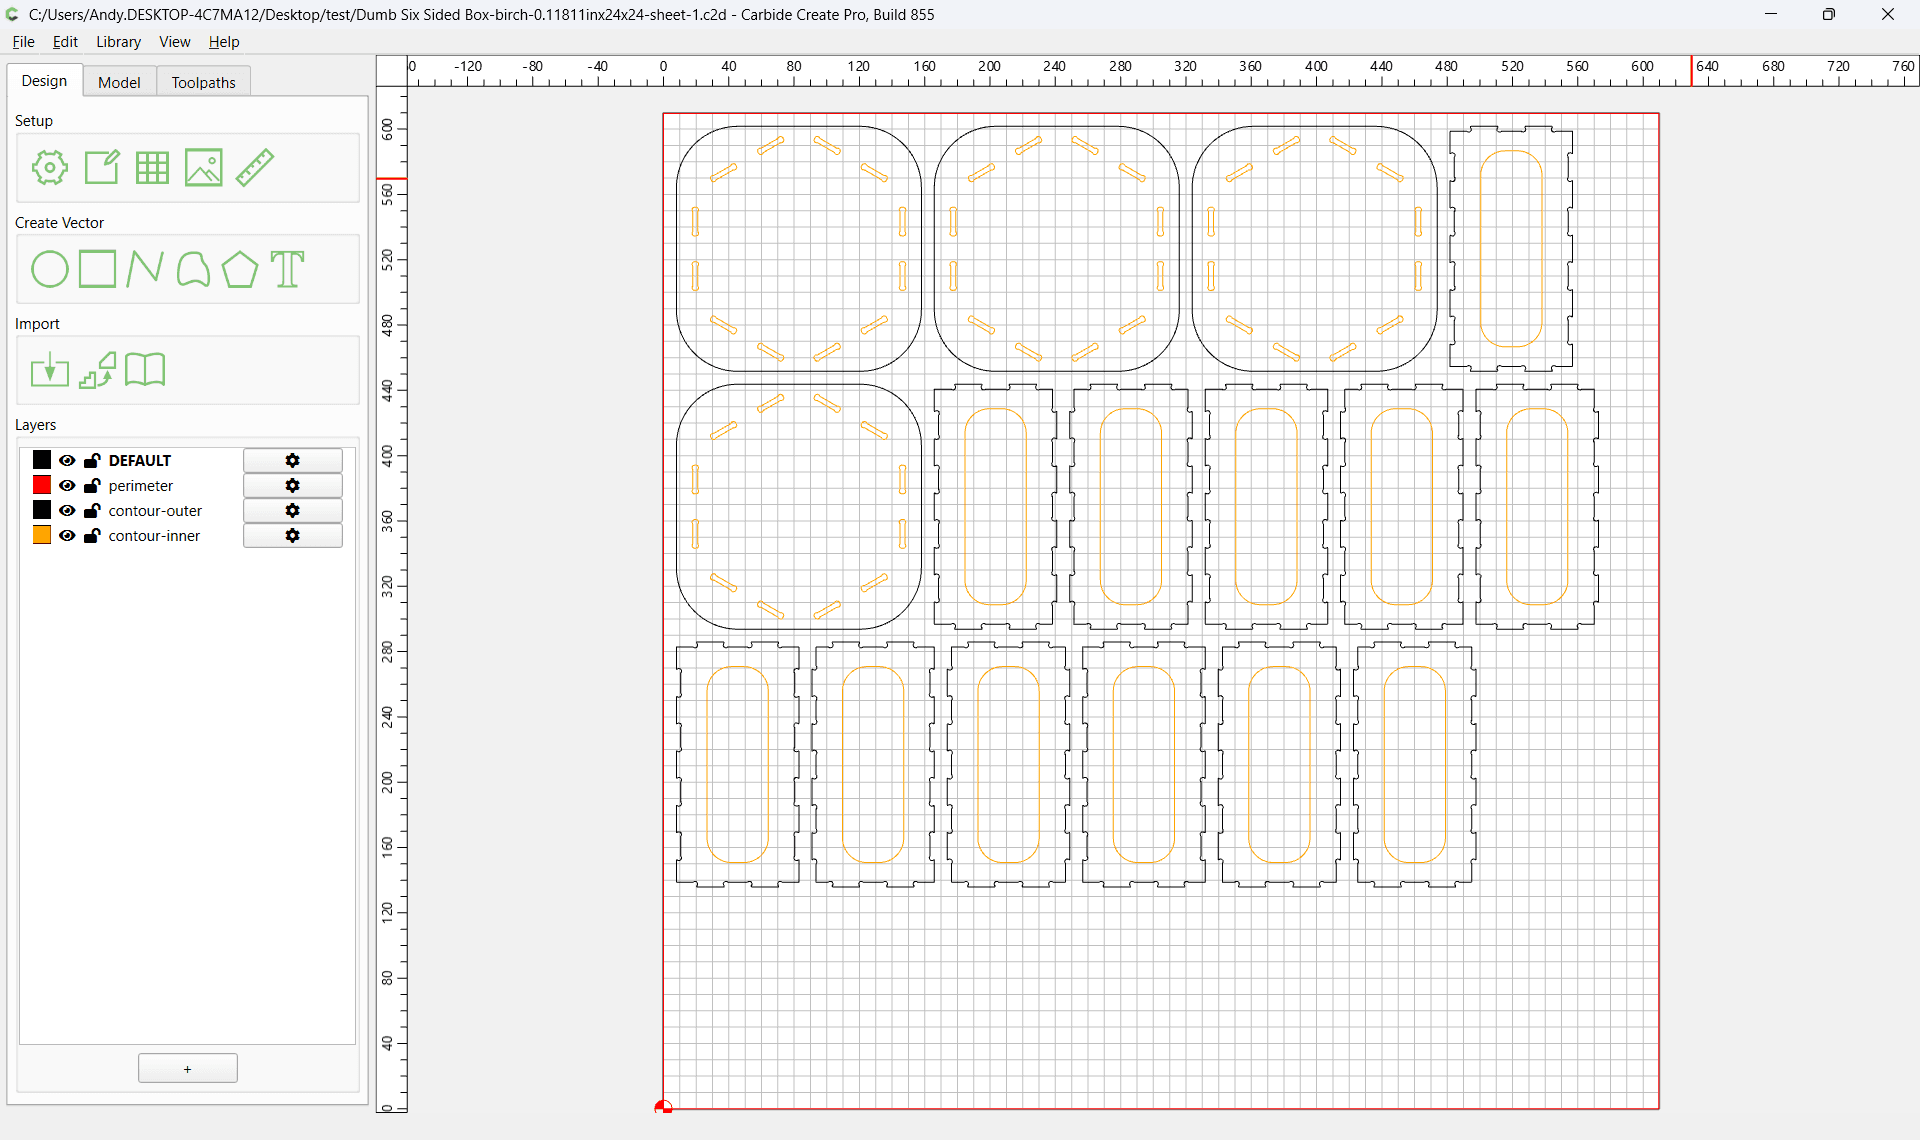
If you’ve used Carbide Create for any length of time, you know the pain: you can import an SVG just fine, but it completely ignores SVG layer information. That means creating layers by hand, selecting bits and pieces, and moving everything around. It’s tedious.
GCrafter now creates the layers for you and names them after the actual toolpath actions, so you start much closer to where you want to be.
Both of these are still early beta, but they already feel pretty solid in day-to-day use.
Still on the Todo List (Carbide Create)
A couple of big time-savers are still coming:
- Toolpaths — Cuts, Contours, Pockets, VCarve, and Drill will all be included
- Auto Tabs — honestly, this is the single biggest pain point in Carbide Create for me
Copy & Paste in Advanced Layout
While I was in there, I fixed another personal frustration.
How many times have you exported to Carbide Create, carefully set up all your tabs and toolpaths… then decided you wanted to change something? Export a new SVG, re-import, re-assign layers, rinse and repeat. I hate that loop.
So now in Advanced Layout you can copy one or more parts (one layer or feature at a time) to the clipboard and paste them into any program that accepts SVG data. Simple, but it removes a surprisingly large amount of friction.
Why Not Vectric, Carveco, etc.?
Vectric uses a proprietary closed format. There’s no public way to write to it, and you can’t even copy-paste into it. The only realistic path would be building a custom GCrafter file format, then writing a Vectric gadget that reads it and reconstructs every layer, shape, and toolpath. That’s easily three months of work.
We’re tabling it for now. If enough people ask for it, we’ll revisit.
Not bad for a week’s worth of work.
I’m really looking forward to hearing how these new exports work for you in the real world.
Happy making. Happy Monday.
— Andy