

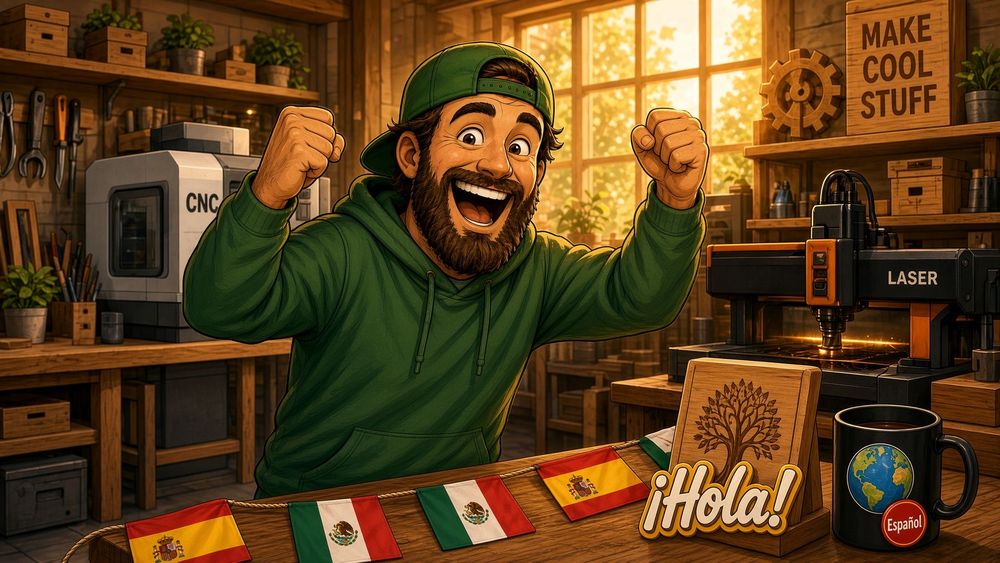
New Feature Fridays: GCrafter Goes International
Posted: November 20, 2026 in #New Feature Fridays
The last note was revolve, and host of improvements, the week before was undo that stays on the thing you just did. This week the site can run in Spanish, the sheet got a few tools that used to be locked to a paid plan, snapping got a big upgrade, and workflow just got better.
Español
GCrafter is picking up steam, and a lot of the people showing up are international. I am glad you found us. Do you speak English? Fair question. I don't know.
I have known this had to start for a long time. I put it off. The job looked absurd. There are literally over a thousand things that need a translation. The old way was a team and months of work. Build the lists. Then go through the code and teach every label how to swap. This is a serious use for AI. A language can land in hours now. I am geeked. I will not be able to read them. They may not be perfect. I hope they make GCrafter easier when English is not your language.
Spanish went in this week. I hope to add a language a week over the next few months.
English is still there. Español is the other choice.
Signed out, the language button sits next to Sign In. Signed in, it is Language in the account menu, just above Sign Out. In Spanish that label is Idioma. The names of the languages stay English and Español.
If the browser is already in Spanish, and you have not picked a language, the site asks once: ¿Usar Español? Yes switches the page and remembers. No keeps English and does not ask again. A link with ?locale=es or ?locale=en wins for that visit.
The marketing pages, the account, the designer, Part Lab, and the sheet packing names follow that choice. So does the clock on relative dates.
The shop words are the ones you would actually say. A finger joint is an ensamble de dedos. A finger is a dedo. A pocket is a cajera. A tab is a puente. A rabbet is a rebaje. The sheet is a tablero. Packing the sheet is acomodo. Kerf stays kerf. GCrafter, PartLab, LightBurn, Carbide Create, and MillMage stay in English. Pro stays Pro. Free is gratis. Sign in is iniciar sesión. Sign up is crear cuenta.
The sheet
On the layout, the gear menu is Grid Options. Grid size and Show Grid are on the free plan. Snap to Grid is still demo and Pro.
Packing method names are in the same Spanish catalog as the rest of the app. Auto, the rectangle fits, skyline, guillotine. The packer did not change. The labels did.
The 3D view
Orbiting one small box is fine. When that box gets bigger, and the parts get crowded, orbiting the whole project is a pain. You spin around the middle when you wanted the corner.
In the 3D menu, Look At has three buttons. They do what they say.
Origin is the center of the view, (0, 0, 0).
Item orbits the center of the item you have selected.
Part orbits the part.
You can get in close on the piece you mean to edit. The control is in perspective view. Orthographic view leaves it off.
Part Lab
Snapping got an overhaul. It was, honestly, inconsistent. The labels did not match. The type sizes did not match. Sometimes the point you wanted would not come up, and no amount of hovering was going to change that. I kept what was already working, went at the rest with a crowbar, and came out with something that feels solid.
The cursor shows the snap and the coordinate. Node, mid, corner, perpendicular, tangent, intersection. Then the numbers, with a space before mm or in.
Offset has a preview, and it is on when you open the tool. It feels like a small thing, the way booleans did last week. There are three offsets and three corner styles. It is nice to see what you are about to get before you commit.
Export got a little smarter. As I keep working the tool, I like a lot of what it does that illustration programs leave out. Arrays. Offsets. Dimensions. Select a shape, or a few of them, and you can export just those. The new array icons were drawn in Part Lab and exported from Part Lab. That is eating my own dogfood.
Fingers
If the center of a side was off, the finger count and where those fingers sat were wrong. They line up with the side again. The X, Y, and Z counts each say which axis you are setting.
A new file
The original Create Project dialog had almost every setting. Machine, material, dimensions, fingers, parts, and on from there. That was too many questions when all you wanted was a lump of clay. A box to start with.
So dimensions came back, and that seems like the middle ground. You probably have a general size in mind. The new dialog has dimensions, and they are optional. Skip them if you are impatient and just want a damn box.
While we were in there, the dialog learned your last settings. Machine, units, and stock size. Laser, CNC, and shop tools. Whichever you used last is the one that comes back. If you cut with a laser, you do not have to hit that toggle every time. Same if you are on a CNC. Small thing. I know.
Quality of life
Part rotation stays put when the part updates. A profile cut follows the face it belongs to. Width and height say they are the part as you see it in 2D. Exterior width, length, and height have the same kind of tip, and the labels wrap. Public and private on a project card was backwards. The dialog backdrop is lighter, and the toast close button sits where a close button should.
If a release like this is useful, the next one lands next Friday.
Happy making.
Andy